

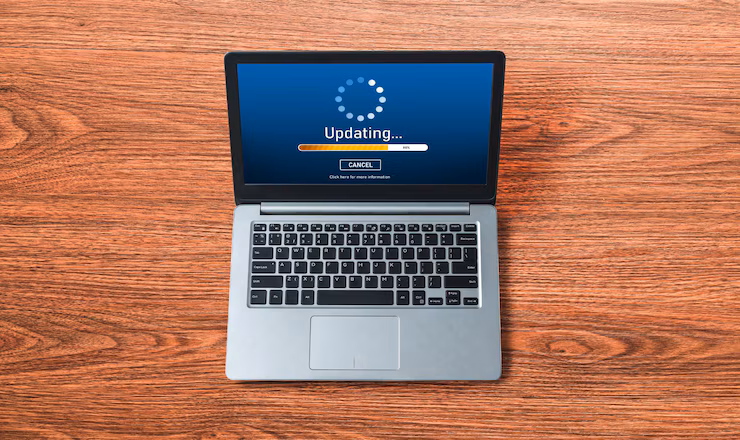
Windows updates are vital for keeping your system secure and running smoothly. However, they don’t always work as expected. When an update fails, it can be frustrating and time-consuming. That’s where the Windows Update Troubleshooter comes in handy. This built-in tool can detect and fix common issues that stop updates from installing correctly.
In this guide, we’ll walk you through everything you need to know about using the Windows Update Troubleshooter effectively. Whether you’re on Windows 10 or Windows 11, this tool can save you hours of manual troubleshooting.
What Is the Windows Update Troubleshooter?
The Windows Update Troubleshooter is a built-in utility designed by Microsoft. It scans your system for problems that may prevent updates from being installed. Once it identifies an issue, it attempts to fix it automatically.
Why You Should Use It
- Saves time by automating common fixes
- Safe and recommended by Microsoft
- Helps keep your PC updated and secure
Many users don’t even realize this tool exists. However, using it is one of the easiest ways to resolve update-related problems.
When to Use the Windows Update Troubleshooter
You should consider running the troubleshooter when:
- Windows updates fail repeatedly
- You see error codes like 0x80070002 or 0x80240034
- Your system is stuck checking for updates
- Updates install but fail during reboot
Common Symptoms
- “Updates Failed” notifications
- Frozen update screen
- Endless checking for updates
- Incomplete installations
How to Access the Windows Update Troubleshooter
Accessing the tool is simple. Follow these steps depending on your Windows version.
For Windows 10
- Click the Start menu and select Settings.
- Go to Update & Security.
- Click Troubleshoot on the left sidebar.
- Select Additional troubleshooters.
- Click on Windows Update, then choose Run the troubleshooter.
For Windows 11
- Open Settings from the Start menu.
- Click System, then select Troubleshoot.
- Choose Other troubleshooters.
- Find Windows Update and click Run.
Once the troubleshooter starts, it will begin scanning for problems.
Step-by-Step: How to Use the Windows Update Troubleshooter
Running the tool is only the beginning. Here’s a detailed process of what to expect.
Step 1: Launch the Troubleshooter
As shown above, access the tool via Settings. Click Run to begin.
Step 2: Scanning Your System
The troubleshooter will now check for:
- Corrupt update files
- Missing registry keys
- Damaged services
- Network issues
This scan typically takes a few minutes.
Step 3: Review the Findings
Once the scan finishes, you’ll see a summary. It may show:
- Issues found and fixed automatically
- Issues found that require manual action
- No issues detected
Step 4: Apply Fixes
If fixes are available, click Apply this fix when prompted. Follow any on-screen instructions.
Step 5: Restart Your PC
Restart your computer to complete any repairs. Then check if the updates install correctly.
What If the Troubleshooter Doesn’t Work?
Sometimes, the Windows Update Troubleshooter can’t solve the problem. Don’t worry—there are other solutions.
Try These Alternatives
- Reset Windows Update components manually
- Use the System File Checker (sfc /scannow)
- Run DISM to fix Windows image files
- Check your internet connection and firewall
These tools can often fix deeper issues the troubleshooter can’t reach.
Advanced Fixes for Persistent Update Errors
If you’ve already tried the Windows Update Troubleshooter with no success, it may be time to use more advanced solutions.
Reset Windows Update Components
- Open Command Prompt as Administrator
- Run the following commands one by one:
net stop wuauserv
net stop bits
net stop cryptsvc
ren C:\\Windows\\SoftwareDistribution SoftwareDistribution.old
ren C:\\Windows\\System32\\catroot2 catroot2.old
net start wuauserv
net start bits
net start cryptsvc
This will clear cached update data.
Run System File Checker
- Open Command Prompt as Administrator
- Type
sfc /scannowand press Enter - Wait for the scan to complete
Use DISM Tool
- Run Command Prompt as Administrator
- Type:
DISM /Online /Cleanup-Image /RestoreHealth - Press Enter and wait for the process to complete
Preventing Future Update Problems
It’s better to avoid issues before they occur. Here’s how to prevent Windows update errors:
Keep System Files Clean
- Regularly run antivirus and anti-malware scans
- Use tools like CCleaner to clear temporary files
Avoid Interruptions During Updates
- Keep your device plugged in
- Don’t shut down while updates are installing
Regular Maintenance
- Check for updates weekly
- Restart your PC periodically
FAQs About the Windows Update Troubleshooter
Does the Troubleshooter work on all Windows versions?
It works best on Windows 10 and Windows 11. Older versions may require manual updates.
Is the Windows Update Troubleshooter safe?
Yes, it is created by Microsoft and does not harm your files.
Can it fix every problem?
No, but it resolves the majority of common issues.
Do I need an internet connection?
Usually yes, especially if it needs to download fresh update files.
Conclusion
The Windows Update Troubleshooter is a powerful yet underused tool. It’s built directly into your system and can resolve many update-related issues with just a few clicks. If your system is struggling with updates, this should be your first step before trying more complex fixes.
By following the steps above, you can quickly get your PC back on track. Keep your updates smooth and your computer secure by using the Windows Update Troubleshooter whenever problems arise.


